Pickling is an age-old culinary tradition that has seen a surge in popularity due to its health benefits and the delightful tangy flavors it imparts to vegetables. While many pickling purists might advocate for raw pickling, blanching certain vegetables beforehand can ensure optimal texture, color, and flavor. If you’ve ever pondered which veggies should take a dip in boiling water before meeting their briny fate, this article is your guide.
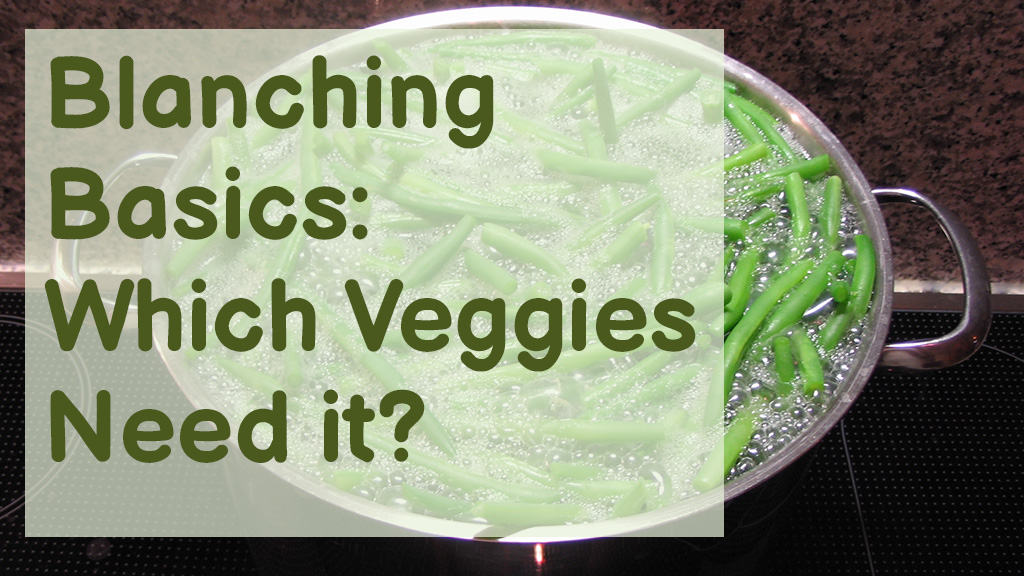
Blanching certain vegetables before pickling can enhance texture, color, and flavor. To blanch: boil veggies briefly, then cool in an ice bath. Vegetables to blanch before pickling include green beans, asparagus, Brussels sprouts, carrots, cauliflower, broccoli, beets, and certain peppers.
Why Blanch Vegetables Before Pickling?
Before diving into our list, it’s crucial to understand why some vegetables benefit from a quick blanching:
- Texture: Certain vegetables have a naturally tough or woody texture. Blanching helps in softening them slightly, ensuring that the pickling brine penetrates more deeply and evenly.
- Color: Believe it or not, some veggies actually brighten in color when blanched. This makes your pickled preparations more visually appealing.
- Flavor: Blanching can sometimes reduce the strong, overpowering taste of certain vegetables, leading to a milder, more balanced pickled product.
- Safety: Blanching can kill harmful bacteria or microorganisms on the surface of the vegetable, leading to a safer pickling process.
The Vegetable Roster: To Blanch or Not To Blanch?
1. Green Beans
Blanching Time: 3 minutes. Why Blanch? Green beans contain certain enzymes that can affect their texture and flavor during pickling. A brief blanching deactivates these enzymes, ensuring a crisp and flavorful end product.
2. Asparagus
Blanching Time: 2-3 minutes for thin spears, 3-4 minutes for thicker ones. Why Blanch? Asparagus can be woody, especially near the base. A quick blanch ensures a more uniform texture throughout.
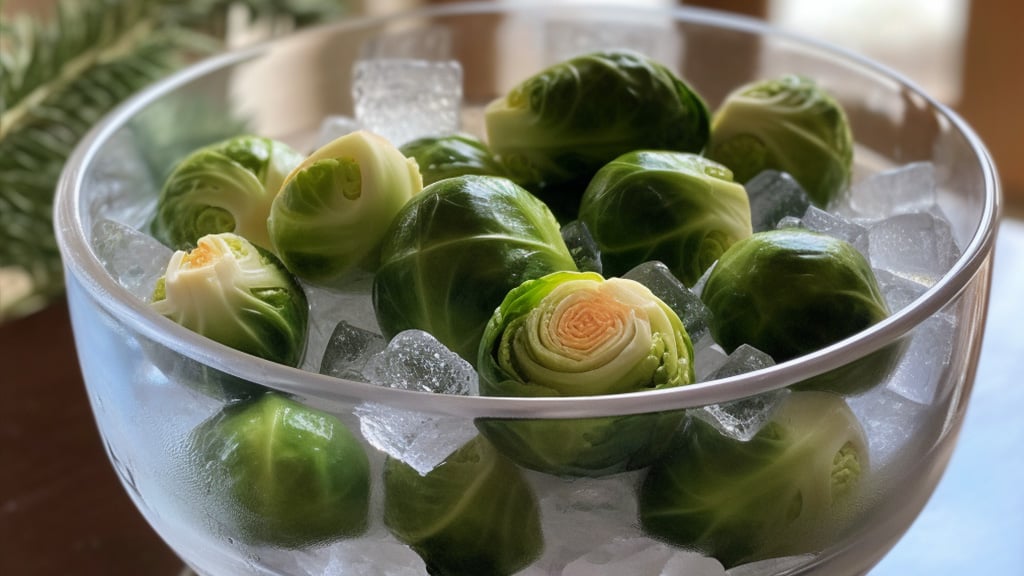
3. Brussels Sprouts
Blanching Time: 3-4 minutes. Why Blanch? Brussels sprouts have a dense structure. Blanching allows the pickling brine to permeate more deeply, making each bite more flavorful.
4. Carrots
Blanching Time: Baby carrots for 2-3 minutes; carrot slices/sticks for 2 minutes. Why Blanch? Blanching helps retain the bright orange color of carrots and softens them slightly for a better pickling result.
5. Cauliflower
Blanching Time: 2-3 minutes. Why Blanch? Cauliflower can sometimes have a strong sulfuric aroma. Blanching can help in mitigating this, leading to a milder tasting pickle.
6. Broccoli
Blanching Time: 3 minutes. Why Blanch? Similar to cauliflower, blanching can help in reducing the strong flavors of broccoli, ensuring a milder pickle.
7. Beets
Blanching Time: 25-30 minutes or until tender. Why Blanch? Blanching beets is more about cooking them thoroughly before pickling. This ensures they absorb the pickling brine well and remain flavorful and tender.
8. Peppers (Bell or Chili)
Blanching Time: 2-3 minutes. Why Blanch? While many prefer pickling peppers raw for a crisp result, blanching can tone down the heat of very spicy peppers and ensure a more uniform texture.
If you’re interested in pickling more than just veggies, check out this article where we talk about the best fruits to pickle.
How to Blanch Vegetables for Pickling: A Step-by-Step Guide
Blanching is a straightforward cooking technique involving briefly boiling vegetables and then plunging them into cold water. This method partially cooks the veggies, preserving their color, enhancing their flavor, and preparing them for processes like freezing or, in this context, pickling.
1. Preparation:
- Choose Fresh Veggies: Freshness is paramount. Pick vegetables that are ripe, free of blemishes, and ideally, organic.
- Wash Thoroughly: Rinse your vegetables under cold running water to remove dirt and any lingering pesticides.
- Cut or Trim: Depending on the vegetable, you might need to trim ends, remove stems, or cut into desired shapes or sizes.
2. Boiling:
- Pot of Water: Fill a large pot with enough water to cover the amount of vegetables you’re blanching.
- Salt (Optional): Some people add salt to the boiling water to enhance the vegetable’s flavor. If you choose to do this, add about 2 teaspoons of salt per gallon of water.
- Boil: Bring the water to a rolling boil over high heat.
3. Ice Bath Preparation:
While waiting for the water to boil, prepare an ice bath:
- Fill a large bowl with ice and cold water. This will be used to quickly cool and stop the cooking process of the vegetables after they’re blanched.
4. Blanching:
- Add Vegetables: Carefully add your prepped vegetables to the boiling water.
- Stir Occasionally: This ensures even blanching.
- Time It Right: Refer to the specific blanching times mentioned in the previous article or until the vegetable’s color brightens. Note that over-blanching can result in overcooked, soggy vegetables, which is not ideal for pickling.
5. Cooling:
- Immediate Transfer: As soon as the vegetables are done blanching, use a slotted spoon or a strainer to immediately transfer them into the ice bath.
- Let Them Cool: Ensure the vegetables are fully submerged and let them sit in the ice bath for the same amount of time they were blanched.
6. Drain and Dry:
- Remove from Ice Bath: Once cooled, remove the vegetables from the ice water.
- Dry Them: Pat them dry with clean kitchen towels or paper towels. It’s essential that the veggies are dry before pickling to prevent dilution of your pickling brine.
Tips for Successful Blanching
- Don’t Overcrowd: Blanching too many vegetables at once can reduce the water temperature significantly, leading to uneven cooking.
- Refresh Water: If blanching multiple batches, you might need to add fresh boiling water or return the water to a boil between batches.
- Stay Vigilant: Since blanching is such a quick process, keep a close watch to ensure optimal results.
Exceptions to the Rule
It’s worth noting that many vegetables like cucumbers, onions, and garlic don’t require blanching before pickling. They already have a texture and flavor profile that works perfectly with the pickling process.
Blanching Your Vegetables
Blanching isn’t a mandatory step in the pickling process, but for certain vegetables, it can elevate your pickling game. It’s all about understanding each vegetable’s unique characteristics and how the blanching process can enhance the final pickled product. Whether you’re a pickling novice or a seasoned pro, using blanching strategically can help you create delectably pickled vegetables that are a feast for both the eyes and the palate.
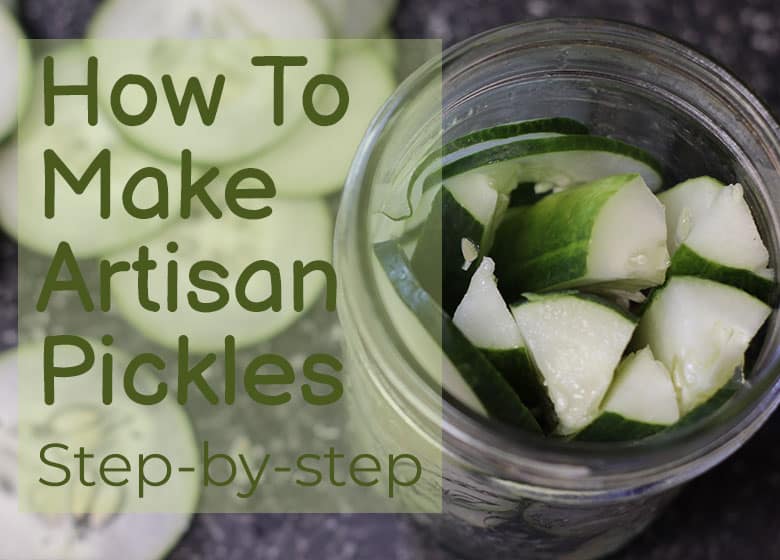
Learn how to make amazing pickles